Modern Granny Square: Easy Free Pattern for Beginners
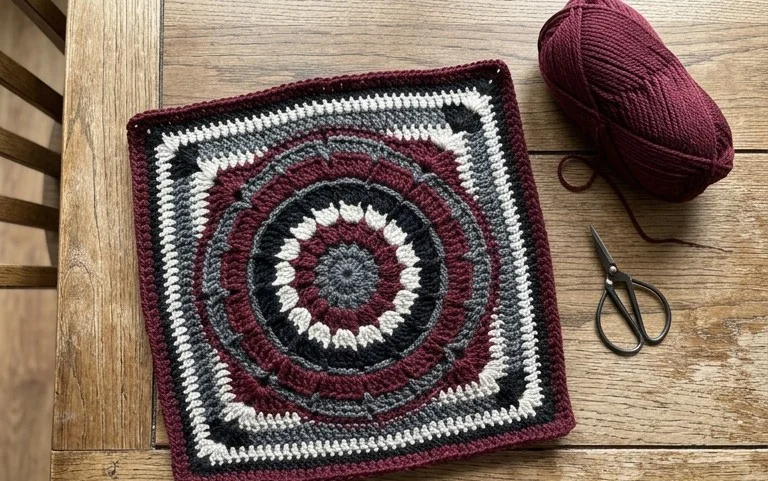
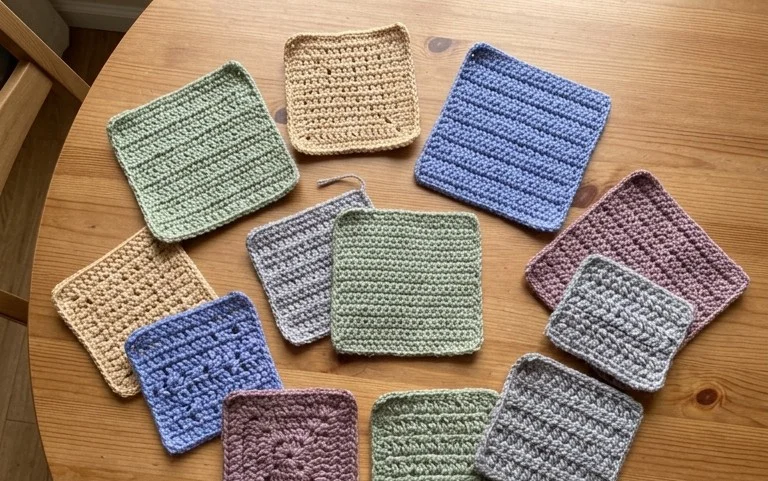
A pile of these squares feels soft and heavy, like a well-loved blanket that keeps its shape even after years of use. This project suits someone who wants a consistent, meditative task to finish during quiet evenings. Home decor lovers find these squares useful for customizing color schemes to match specific rooms. Beginners appreciate how the construction builds confidence without requiring complex stitch counts. You will master the specific cluster method that keeps corners sharp and flat. This fundamental technique provides the base for endless creativity, turning simple worsted yarn into a durable piece of functional art for your home.
Why You’ll Love This Pattern
The Classic Crochet Granny Square is the foundation of countless heritage projects, offering a repetitive, meditative rhythm that makes it perfect for winding down after a busy day. This specific pattern is designed to lie perfectly flat without the dreaded curling edges that often plague beginners. Because it uses basic stitches and a standard 3-double crochet cluster, it works up remarkably quickly, allowing you to build an entire blanket stash one square at a time. It is also an excellent project for using up small lengths of leftover yarn from previous makes.
I struggled with tension for years until I tried this specific count, and now my squares finally stack perfectly straight for joining. It is the only pattern I use for my scrap blankets.
— Sarah, long-time hobbyist
Pattern Overview & Skill Level
- Skill Level: Beginner
- Approximate Time: 30 to 45 minutes per square
- Construction: Worked in joined rounds, starting from the center and expanding outward
- Finished Dimensions: Approximately 6 inches by 6 inches when using worsted weight yarn and a 5.0 mm hook
Materials & Supplies Needed
- Yarn: Worsted weight (#4), 100% acrylic or wool blend, approximately 20 yards per square.
- Hook Size: 5.0 mm (US H-8).
- Notions: Tapestry needle for weaving in ends, sharp scissors.
- Safe yarn substitutions: You may use DK weight (#3) yarn for a smaller, more delicate square, but you will need to go down to a 4.0 mm hook to maintain the structural integrity of the cluster stitches. Using chunky weight (#5) yarn requires a 6.0 mm hook, which will result in a significantly larger square that may feel more open in texture.
Stitch Guide & Abbreviations (US Terms)
- ch = chain
- st/sts = stitch/stitches
- sl st = slip stitch
- dc = double crochet
- dc cluster = 3 double crochet stitches worked into the same space
- sp = space
- MR = magic ring
Step-by-Step Pattern Instructions
The Granny Square Body
- Rnd 1: Start with a MR. Ch 3 (counts as first dc), work 2 dc into ring, ch 2, 3 dc, ch 2 3 times. Join with a sl st to the top of the beginning ch-3. (12 sts, 4 ch-2 spaces)
- Rnd 2: Sl st into the next 2 sts and into the first ch-2 corner sp. Ch 3, 2 dc, ch 2, 3 dc in the same corner sp. Ch 1, skip 3 sts, (3 dc, ch 2, 3 dc) in the next ch-2 corner sp. Repeat from * to * 3 times total. Ch 1, join with a sl st to the top of the beginning ch-3. (24 sts, 4 corners, 4 side spaces)
- Rnd 3: Sl st into the next 2 sts and into the first ch-2 corner sp. Ch 3, 2 dc, ch 2, 3 dc in the same corner sp. Ch 1, skip 3 sts, 3 dc in the next ch-1 side sp, ch 1, skip 3 sts, (3 dc, ch 2, 3 dc) in the next corner sp. Repeat from * to * 3 times total. Ch 1, 3 dc in last ch-1 sp, ch 1, join with a sl st to the top of the beginning ch-3. (36 sts, 4 corners, 8 side spaces)
- Rnd 4: Continue in established pattern, working 3 dc in each side ch-1 space and (3 dc, ch 2, 3 dc) in each corner ch-2 space. Join with a sl st to the top of the beginning ch-3. (48 sts, 4 corners, 12 side spaces)
Finishing
Once you reach the desired size, fasten off your yarn, leaving a 6-inch tail. Use your tapestry needle to weave the tail through the back of the stitches, traveling in different directions to ensure it remains secure through future washings. Trim the excess yarn close to the fabric.
Care & Washing Instructions
- Hand wash in cool water using a mild detergent specifically designed for delicate fibers.
- Gently squeeze out excess water with a towel, never wringing or twisting the square to avoid stretching.
- Lay the square flat on a clean, dry surface, pulling it into a perfect square shape, and allow it to air dry away from direct heat sources.
Pro Tips & Common Mistakes to Avoid
- Consistent Tension: If your square begins to ripple or wave, your tension is likely too loose. Try dropping down one hook size to tighten the stitches.
- Stitch Markers: Always place a stitch marker in the first chain-3 of your round. This makes locating the joining point at the end of the round much easier.
- Invisible Ends: When joining a new color, tie it into a corner space rather than in the middle of a side. This hides the knot behind the corner cluster.
- Size Adjustment: To make the square larger, simply add more rounds following the logic of working 3 dc into every side space and (3 dc, ch 2, 3 dc) into every corner. Note that each additional round will increase your yarn consumption by approximately 15 percent.
Frequently Asked Questions
Can I use cotton yarn for this square?
Yes, cotton yarn works beautifully and provides excellent stitch definition. However, cotton does not stretch like wool or acrylic, so ensure your tension is even to prevent the square from pulling to one side.
How do I join these squares together?
You can join squares using a whip stitch through the back loops or by using a slip stitch join. Both methods provide a sturdy seam for blankets or bags.
Is this pattern suitable for complete beginners?
This pattern is highly beginner-friendly as it relies entirely on the double crochet stitch and chain spaces. It provides great practice for controlling tension and identifying stitch placement.
Can I sell items made from this pattern?
You are welcome to sell finished squares or projects made from this pattern. Please provide credit to the designer when listing your items online.
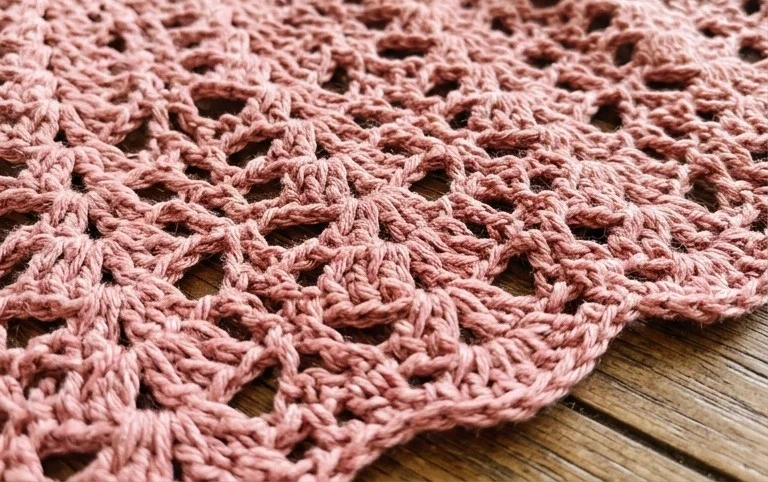
Your finished square now holds a solid structure that works beautifully for join-as-you-go blankets or pillows. If you want to change the look, try alternating between two high-contrast colors in every round to create a bold geometric effect. Posting a photo of your work on your favorite social media account helps others find motivation to start their own stacks. You can find more free patterns and project ideas right here on the blog whenever you are ready for your next stash-busting venture.