Easy Crochet Sunflower Coasters: Free Beginner Pattern
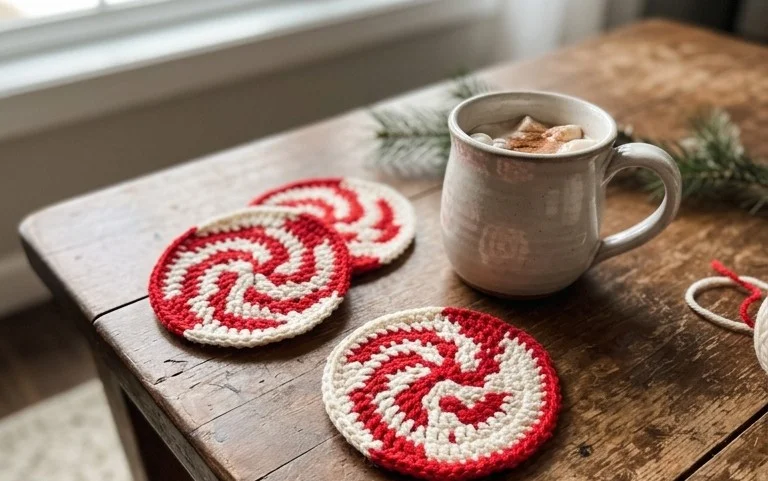
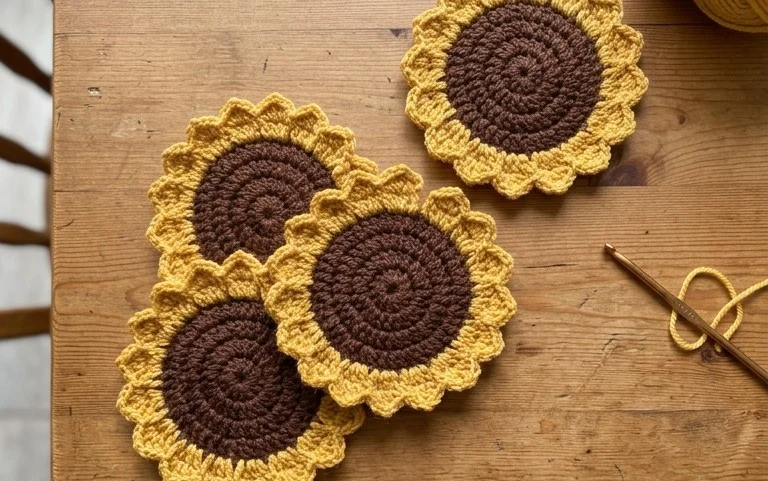
Bright yellow petals against a dark brown center bring a touch of garden warmth to your coffee table. These small circular pads feel firm under a mug, protecting your wood surfaces from condensation and heat rings while providing a cheerful splash of color. Beginners will appreciate how quickly these grow, teaching you the rhythm of increasing rounds and the neatness of working in continuous loops without complex seams to sew. Making these for your home or as a thoughtful gift for a friend provides a sense of accomplishment during a quiet afternoon spent with your favorite crochet hook.
Why Crocheters Love It
This beginner-friendly project works up in under two hours, making it an ideal choice for last-minute handmade gifts. The pattern relies on basic stitches and simple shaping, which helps you practice maintaining even tension without the stress of complex color changes or difficult construction. Because it uses less than 100 yards of yarn, it is an excellent way to use up those leftover balls of worsted weight acrylic or cotton sitting in your craft stash. The final product is a durable, functional accessory that stands up well to daily use while retaining its intended shape.
I finished this project in a single evening while watching a movie. The instructions are very clear, and the stitch counts for each round helped me stay on track without having to restart.
— Sarah, hobbyist crafter
Pattern Overview & Skill Level
- Skill Level: Beginner
- Approximate Time: 1 to 2 hours
- Construction: Worked in continuous rounds using a magic ring for the base, followed by a simple increase sequence for the body, finishing with a slip stitch join.
- Finished Dimensions: 4 inches in diameter and 3 inches in height.
Materials & Supplies Needed
- Yarn: Worsted weight (#4) cotton yarn. Approximately 75 yards needed. Cotton is recommended for its stitch definition and durability.
- Hook Size: 5.0 mm (H-8) crochet hook.
- Notions: Tapestry needle for weaving in ends, a locking stitch marker to track the start of rounds, and scissors.
- Yarn Substitutions: You may use acrylic yarn for a softer texture or a wool blend for added warmth. Note that acrylic will result in a slightly more relaxed fabric with more stretch, while wool may require a 4.5 mm hook to maintain the same structural density.
Stitch Guide & Abbreviations (US Terms)
- MR: Magic ring
- ch: Chain
- sc: Single crochet
- inc: Increase (work 2 sc in the same stitch)
- sl st: Slip stitch
- st(s): Stitch(es)
- BLO: Back loop only (insert hook under the back loop of the V-shape stitch only)
Step-by-Step Pattern Instructions
Base and Body
Work in continuous rounds without joining at the end of each round. Place a stitch marker in the first stitch of every round to keep track of your position.
- Rnd 1: Start with a MR, work 6 sc into the ring. (6 sts)
- Rnd 2: Work 2 sc in each st around. (12 sts)
- Rnd 3: [1 sc, inc] repeat 6 times. (18 sts)
- Rnd 4: [2 sc, inc] repeat 6 times. (24 sts)
- Rnd 5: [3 sc, inc] repeat 6 times. (30 sts)
- Rnd 6: Work in BLO, sc in each st around. (30 sts)
- Rnd 7-12: sc in each st around. (30 sts)
Finishing
- Rnd 13: Sl st in the next stitch to smooth out the edge. Fasten off, leaving a 6-inch yarn tail.
- Assembly: Thread the tail onto a tapestry needle. Weave the tail through the front loops of the final round to secure the edge. Pull tight, tuck the end into the interior, and trim the excess.
Care & Washing Instructions
- Hand wash in cool water using a mild detergent to prevent the fibers from stretching or pilling.
- Gently squeeze out excess water with a clean towel; do not wring or twist the item.
- Lay flat on a dry towel to air dry, shaping the piece back into a circular form while damp.
Pro Tips & Common Mistakes to Avoid
To ensure consistent size, maintain the same tension throughout the entire project; if your hands get tired, take a break rather than tightening your grip, which can cause the stitches to shrink. Always use a stitch marker at the beginning of each round, as it is easy to lose count when working in a continuous spiral. Weave your ends in by running the tapestry needle through the back of the stitches for several inches in two different directions, which prevents the yarn from working loose over time. If you wish to make the piece larger, add an extra round of increases after Round 5, but keep in mind that this will require approximately 15 percent more yarn and will change the final proportions.
Frequently Asked Questions
Can I use a larger hook to make the project faster?
Using a larger hook will increase the finished size and create a looser, more open fabric. If you decide to go up a hook size, ensure you use a heavier weight yarn to maintain the density of the stitches.
Is this pattern suitable for someone who has never held a hook?
This pattern is designed for beginners who understand basic stitches. If you are new to crochet, practice making a chain and single crochet rows before attempting the magic ring, as that is the most difficult technique in this project.
Am I allowed to sell the finished items made from this pattern?
You may sell items produced from this pattern provided you credit the designer and use your own photographs. Please check the specific terms of use listed on the original designer’s website or file for updated commercial policies.
What should I do if my circular base starts to cup like a bowl?
Cupping usually happens when your tension is too tight or your increase count is incorrect. Ensure you have 6, 12, 18, 24, and 30 stitches respectively for the first five rounds; if the count is correct, try loosening your yarn tension slightly.
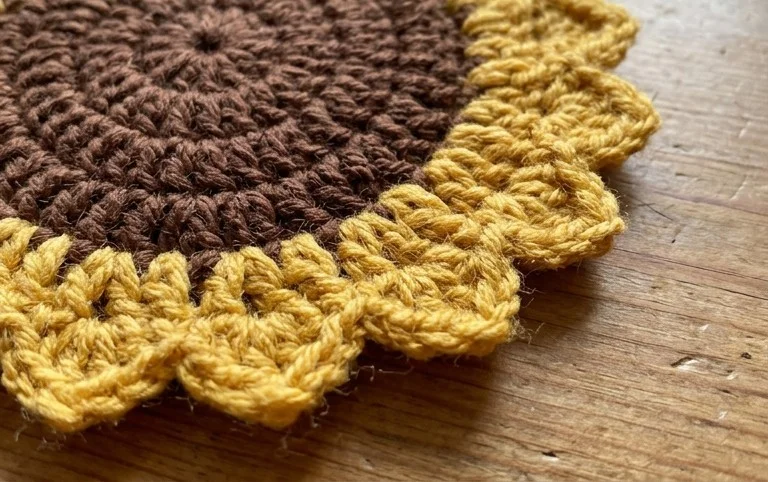
Your new floral pads add a touch of handmade warmth to any room, especially when stacked by the teapot. Try using variegated brown yarn for the center to create a more realistic, rustic texture, or stitch them in muted autumnal tones to match a seasonal display. Seeing your version of these flowers makes the hard work worthwhile, so share your finished photos online to show how your color choices turned out. Check the rest of the blog for more patterns that use small amounts of leftover cotton stash.